The Ceiling Height Drop: Reworking MEP Drawings When Clearance Shrinks
AutoMEP Team,
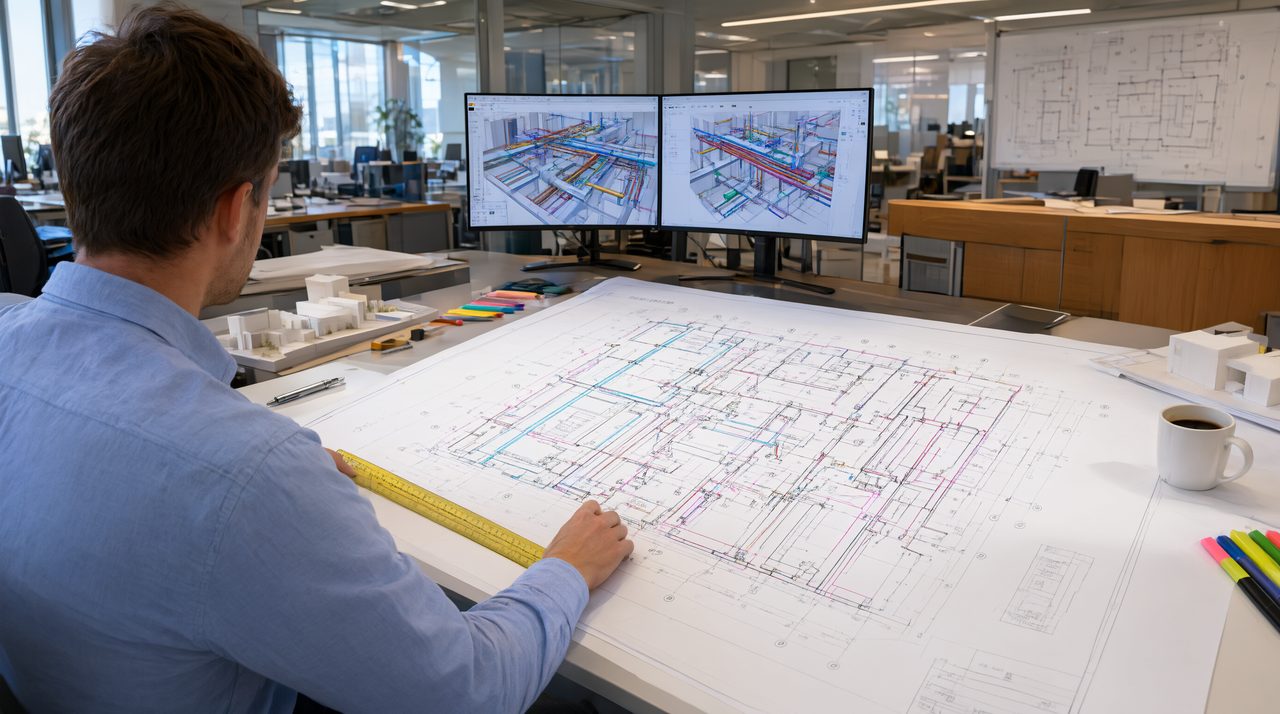
When an architect lowers a ceiling, the drawing problem is not one duct that sits too high. It is every system that shares that plenum, and every tag, section, schedule, and detail that describes those systems. A change that looks small on an architectural plan can force a full rework of the MEP set if it is handled trade by trade. The firms that get through it cleanly treat the ceiling change as a coordination event, not as a single edit, and they work from one updated clearance before anyone redraws a run.
First, pin down exactly what changed. A finished ceiling elevation may have dropped, a soffit may have been added over a corridor, a beam may now sit lower in the plenum, or a ceiling type may have changed how much depth is actually usable. Each has a different effect on duct depth, pipe routing, cable tray elevation, and access clearances. Before redrawing anything, confirm the new ceiling elevation, the lowest obstruction in each zone, and which rooms or corridors are affected. One updated reflected ceiling plan, checked against the structural framing above it, prevents two drafters working from two different clearances.
How do you check whether existing MEP routes still fit?
Start with the largest and least flexible systems, then work toward the smaller ones. Large duct mains and major piping runs set the controlling elevations, because they cannot be nudged a few inches without changing sizes, slopes, or connections. Once those routes are settled, cable tray, conduit, and smaller piping can be fitted around them. Check each route against the new ceiling line, against beams and structure, and against the access space needed to service equipment, valves, and dampers. A route that fits in plan can still fail in section, so cut sections through the tightest zones before issuing anything.
Slopes and drains deserve special attention, because they cannot be flattened to fit. Gravity piping, condensate lines, and any run that depends on fall will either still work at the new elevation or it will not, and forcing it usually creates a low point that will cause trouble later. The same applies to equipment that needs clearance for service or removal. If a fan coil, VAV box, or access panel ends up above a hard ceiling with no access, the drawing may look complete while the installation is unserviceable. Flag those cases early, while a relocation or a soffit is still an option.
What order should the redraw follow?
Work in layers, and do not let trades redraw in isolation. First, update the controlling HVAC routes and confirm their sizes still work after any flattening or rerouting, since a shallower duct at the same airflow needs a wider section, which can eat into the space you are trying to save. Next, adjust plumbing and piping, checking slopes, vent routing, and connection heights at fixtures and equipment. Then fit electrical tray and conduit around the settled routes, and confirm device coordination where ceiling devices move with the new ceiling line. Diffusers, grilles, lights, and access panels all move when a ceiling moves, so their tags and schedules must move with them.
How do you keep schedules, tags, and sections in sync?
Schedules drift when a drawing change is made in one place and the schedule is treated as a separate document. If a diffuser moves, its schedule row should change in the same revision. If equipment is relocated, its schedule, its tag on the plan, and its detail or section should all show the same location and connection information. Title blocks and revision tables need the same discipline. Issue the revision as a package, with plans, sections, schedules, and details reviewed together, rather than issuing a plan revision now and a schedule revision later.
This is also where plain language instructions earn their keep. AutoMEP is a web app where MEP engineers and designers upload an AutoCAD DWG or Revit RVT file and describe the edit they want in plain English, and it returns a native DWG or RVT file that opens in AutoCAD or Revit, with no install, no plugins, and no macros. It supports DWG 2007 and later, and Revit 2024, 2026, and 2027, and it covers HVAC, electrical, and plumbing work, including duct and piping routing, conduit, equipment blocks, tags with leaders, dimensions, tables, riser diagrams, shop drawings, and title blocks. Geometry goes on AIA or NCS layers automatically, or on an office's own CAD standard layers when a project uses one. A licensed professional should review the edited drawing before construction, and coordination checks between trades stay with the firm's own review and tools.
A practical checklist for the next ceiling drop
Ceiling drops will keep arriving late in projects, because ceiling heights are often settled after MEP routes are already drawn. The firms that handle them well have a steadier process for absorbing them, one clearance, one set of controlling routes, and one reviewed package at a time.
Frequently asked questions
What should be checked first when a ceiling height drops?
Check the new ceiling elevation against the largest duct and piping routes and the lowest structural obstruction in each zone, then cut sections through the tightest bays to confirm depth, slope, and service access.
Why do ceiling drops cause so many drawing revisions?
Because a ceiling move shifts diffusers, lights, and access panels, changes duct and pipe routes, and touches schedules, tags, sections, and details, so one change ripples across many sheets.
How much does AutoMEP cost?
AutoMEP offers a 7-day free trial on all plans, with Starter at $39 per month, Pro at $99 per month, and Team at $249 per month. Extra jobs overage is $2.50 per unit, capped at $25 per month, off by default on paid plans, and failed jobs and no-change jobs are not counted.